Fleet Map: Annotations Studio
Overview
The annotations studio gives you the ability to draw our regions and identify points of interests on your fleet map. The coordinates will be based on Freedom Robotics OFL (Open Fleet Language) and not GPS.
To start making your own regions and point of interests, you can navigate to the zone map and click Annotations Studio.
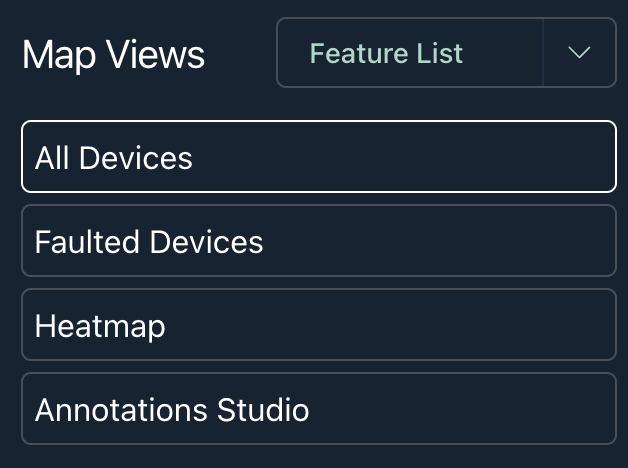
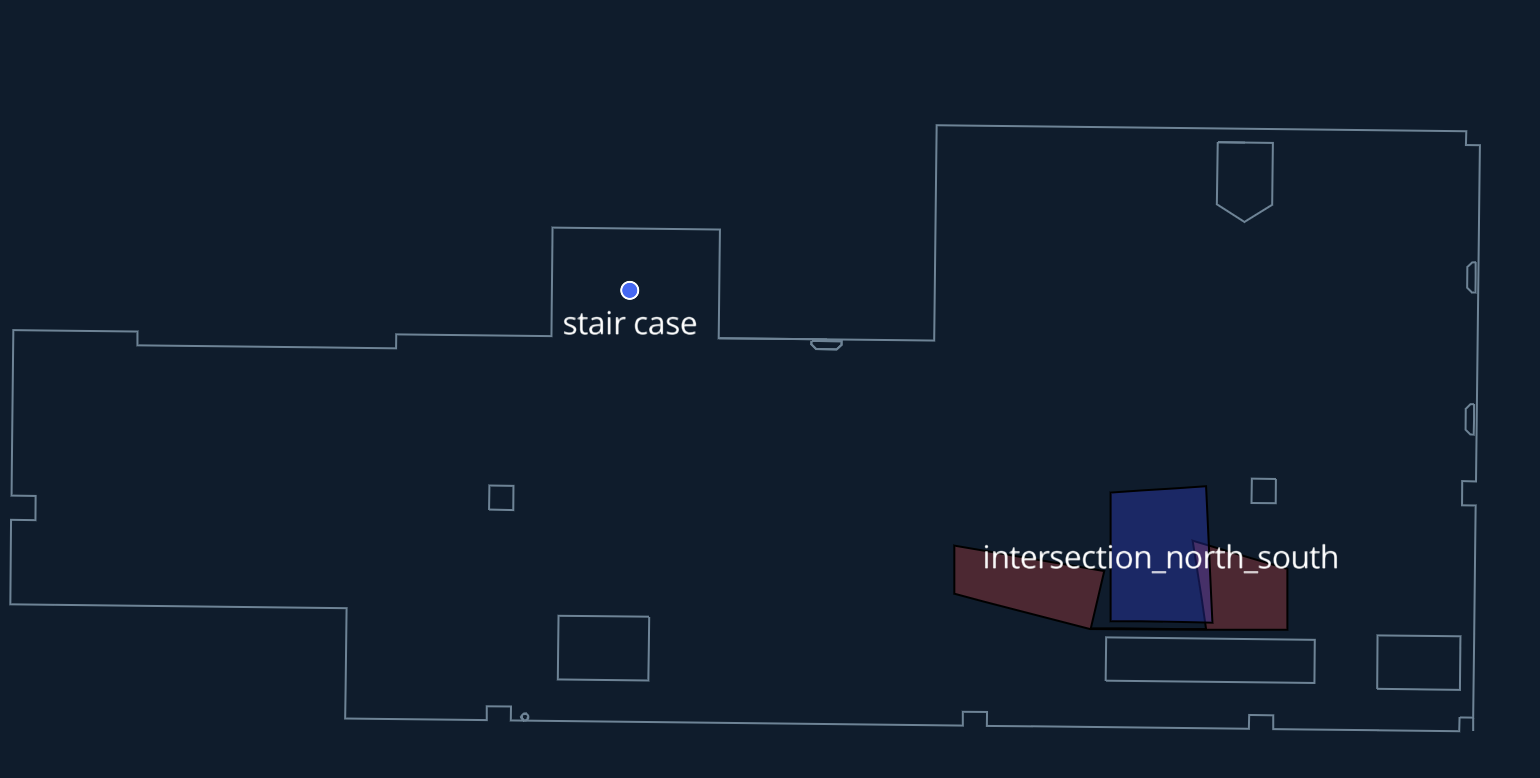
By clicking on Annotations Studio, the regions and point of interests will automatically appear. The devices will hide, but can be toggled on by selecting them in the feature list.
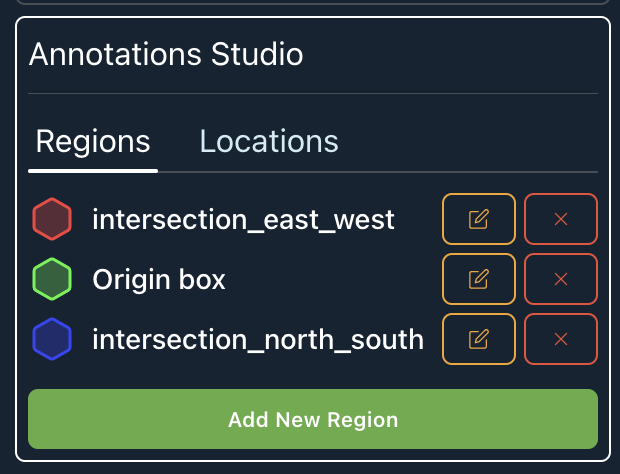
Once inside the Annotations Studio, you will see the various regions that have been set up and the ability to Add New Region.
Adding a new region
- Click Add New Region.
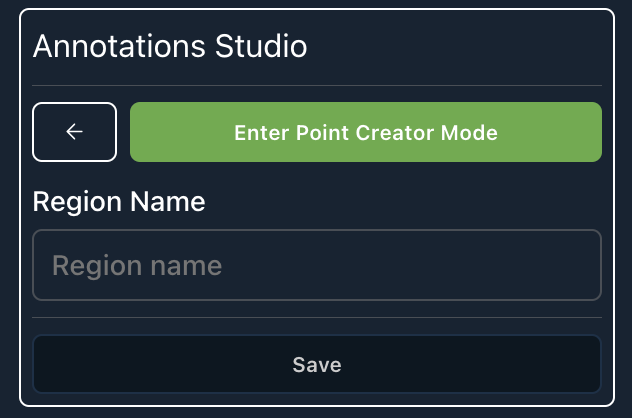
- Click Enter Point Creator Mode.
- On a blank spot in the map click in the open space.
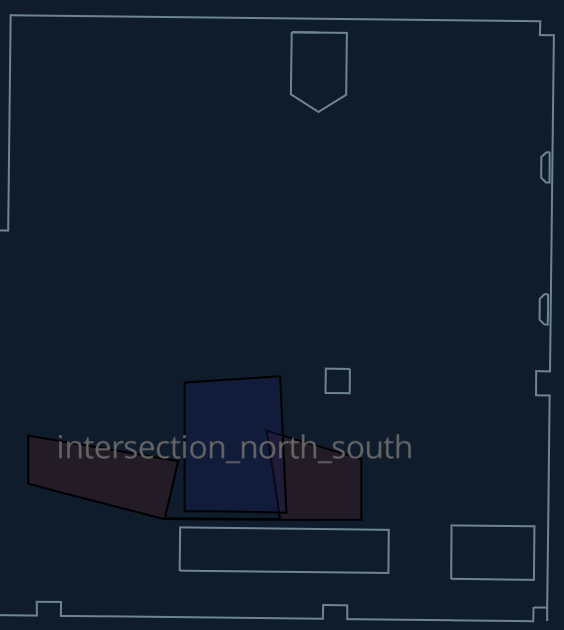
- You will see points appear as you click, and after making 3 points a shape will begin to form. When you are finished with you shape you can go back to the Annotations studio on the right side.
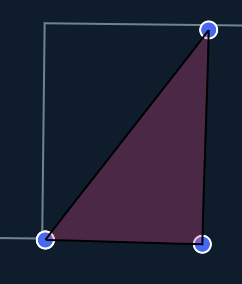
- Give the Region a Name and click Save.
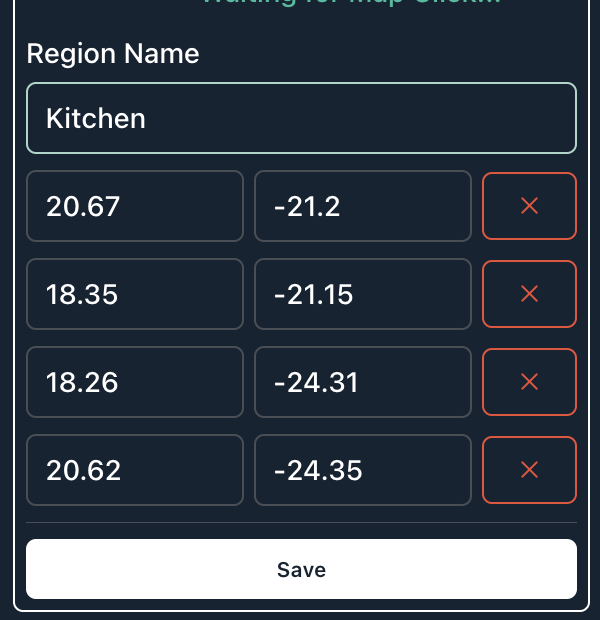
Result:
The region will be added to the map.
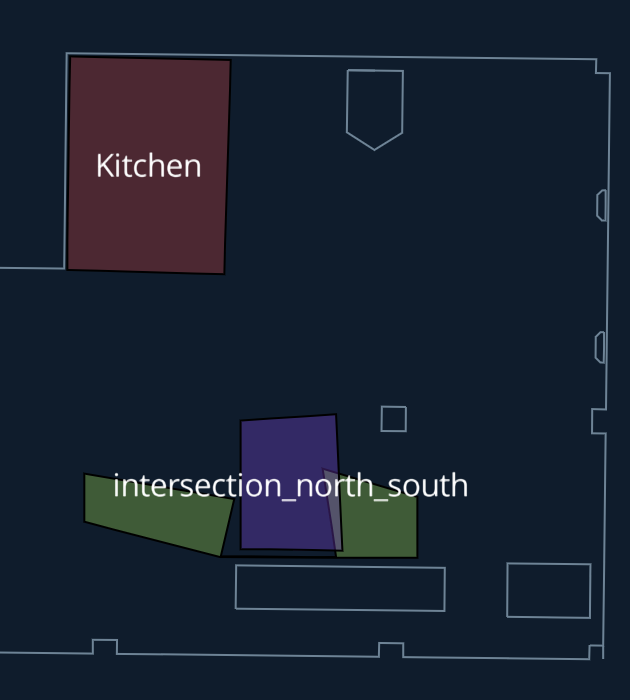
Editing a region
- Choose the region you want to edit and click the Edit Icon.

- Edit the points. The first column is X-Axis and the second column is the Y-Axis. For example adjusting the point from -21.2 to -20.2 will result in the following.


Locations
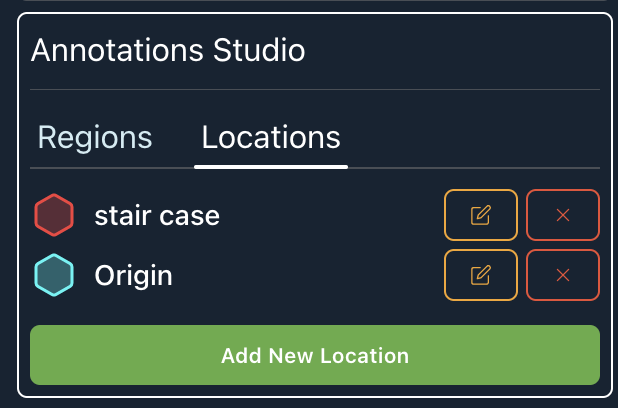
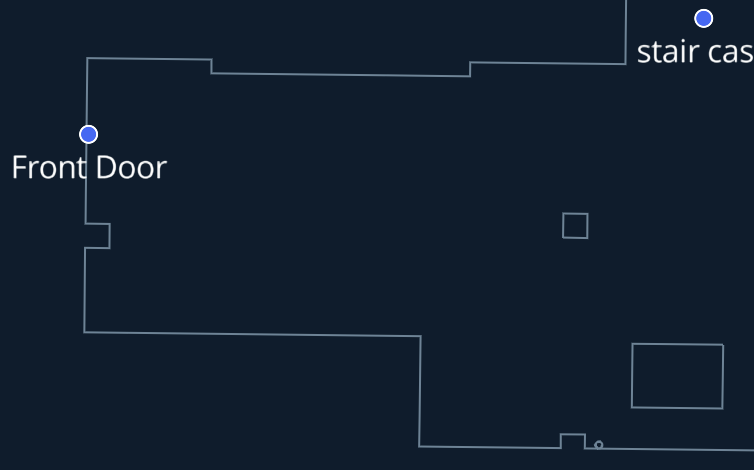
The second tab will show locations, or points of interests. These points can be used to identify areas of the factory that you want to label and call out to other users.
Adding a new location
To create a new point of interest, click Add New Location.
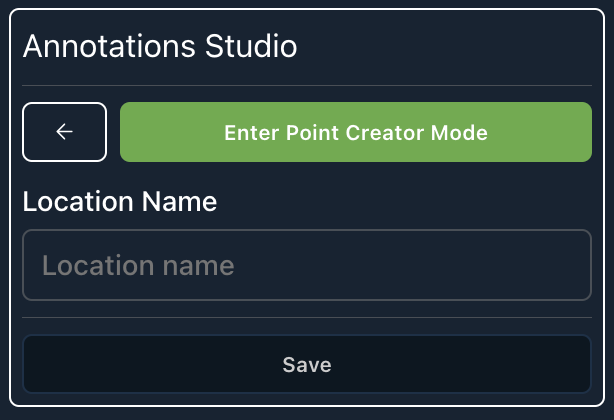
Then click Enter Point Creator Mode.
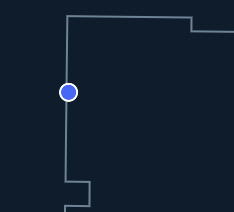
Within the fleet map, click on the open space you want to label. A point will appear on the area clicked.
Save the Point by entering in a name, and then click Save.
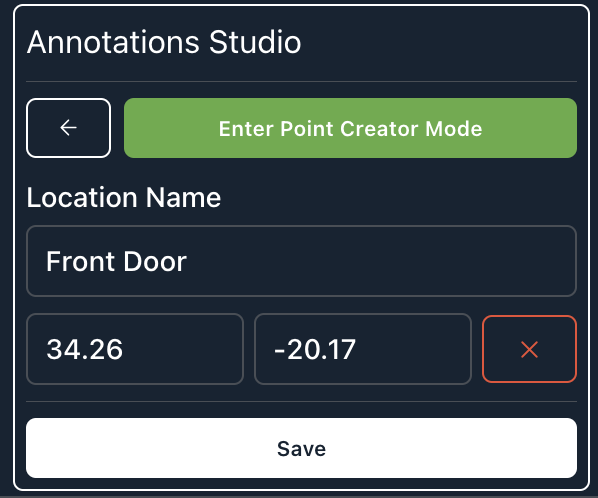
The map will automatically refresh to show the new location.
Updated almost 4 years ago
