Pilot: Navigate with GPS
Time to complete: 5 minutes
Using GPS navigation is as simple as specifying the GPS topic for displaying the robot's position, sending a waypoint to your robot, and watching it navigate to its destination.

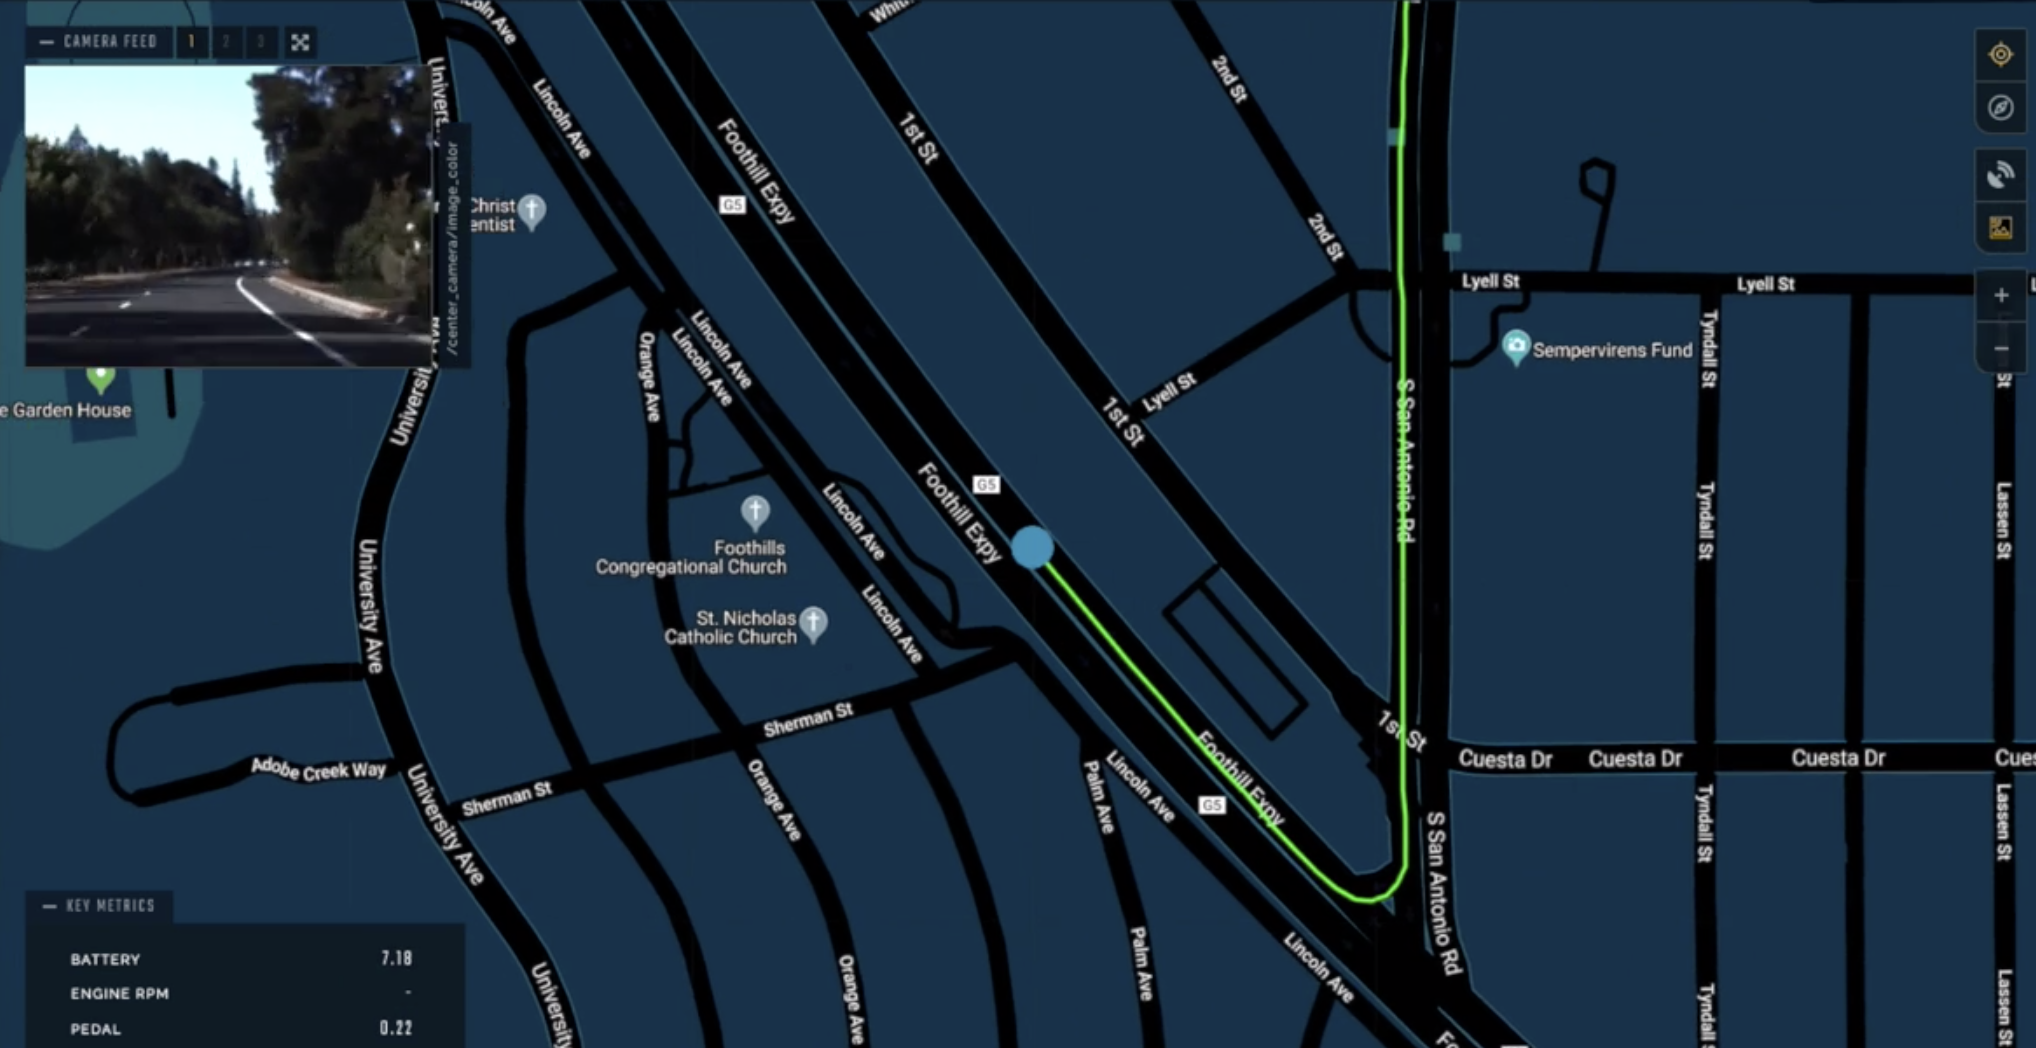
A combined view of GPS maps, video feeds, and key metrics gives you a clear picture of where your robots are and what they are doing.
To get started with GPS navigation, we'll walk through the following steps:
1. Specify GPS and waypoint topics
2. Navigate to a waypoint
3. Cancel a waypoint
4. Switch between street map and satellite view
Prerequisites
If you would like to enable low-latency control and video feeds, please enable WebRTC on your device. If you are doing passive monitoring and are not concerned about frame rate or command latencies, WebRTC is not required.
We also recommend you have complete the steps to control your robot, including adding video feeds, setting up command shortcuts, and adding key metrics.
Specify GPS and waypoint topics
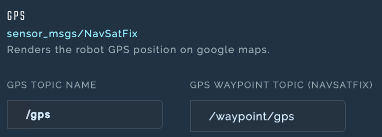
Navigate to SETTINGS → PILOT and select the ENVIRONMENT tab. In the GPS section, enter the name of the GPS topic used to specify the position of your robot. If you have a filtered version, you should use it.
GPS data should be formatted as the ROS type sensor_msgs/NavSatFix. See here for more information.
You'll also need to specify a GPS waypoint topic. Freedom will publish a sensor_msgs/NavSatFix message each time the operator clicks the waypoint button and drops a waypoint for the robot to travel to.

Navigate to a waypoint
Now that everything is set up, click the PILOT tab. If you haven't yet selected the map view, click on the map in the top right corner of the screen. Press the map icon on the righthand side of your screen. You will now see a map with the GPS location of your robot.

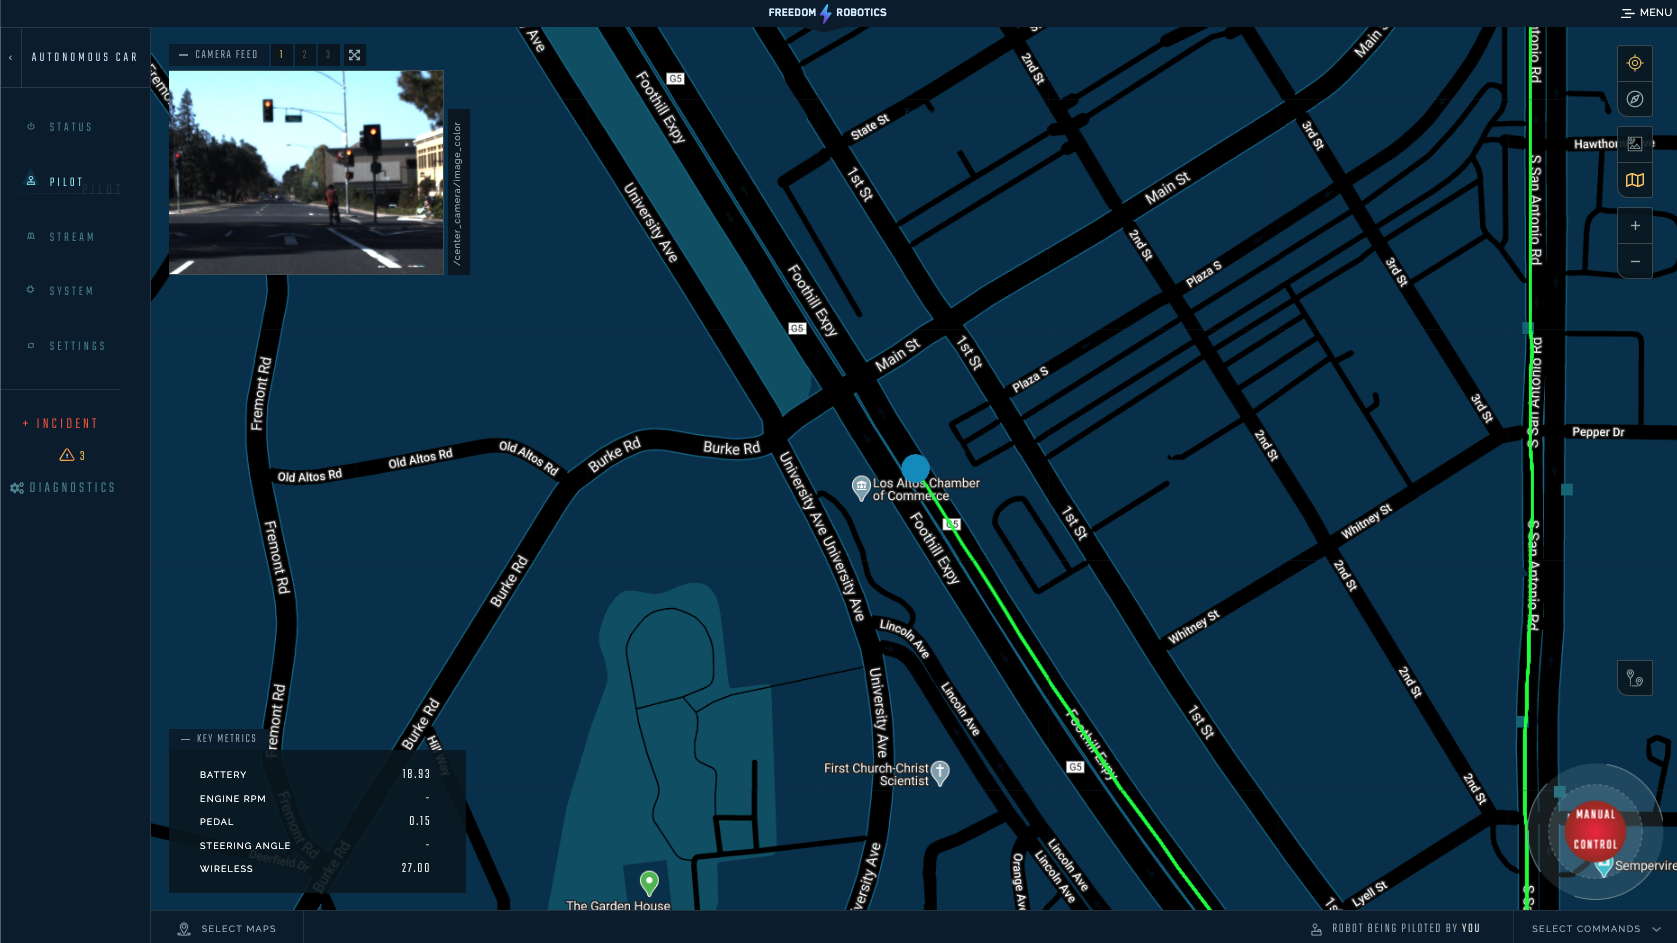
The GPS navigation view integrates maps, video feeds, memorized commands, and key metrics.
You can now click TAKE OVER. You will see a button appear on the right side of the page that lets you drop a navigation waypoint. This will send in a waypoint on the GPS WAYPOINT TOPIC you specified.
Click on the icon and place a waypoint in a safe location where your you want your robot to drive to. When you click, you will see the message appear in your DATA STREAM if you are uploading that topic.

The waypoint button allows you to drop a navigation waypoint for your robot on a map.
Cancel a Waypoint
At some point, you need to cancel a navigation waypoint. When you are not actively driving the robot manually (e.g. because your robot is navigating autonomously to a waypoint), a red MANUAL CONTROL button will appear in the bottom right corner of the screen.

The MANUAL CONTROL button sends a cancellation message to your robot, allowing you to cancel in-progress navigation.
When your press the button, it will send in a zero-velocity geometry_msgs/Twist command and also a custom "stop" message specified in the CONTROL tab of the SETTINGS → PILOT page. You can specify the topic, topic type, and message to send to notify the system that you are canceling navigation. The default behavior is sending an empty message to /move_base/cancel.
Switch between street map and satellite view
Using the toolbar on the righthand side of the screen, you can switch between a satellite map and a simplified street map.

You can use a satellite or simplified street map for navigation.
Updated over 5 years ago
With that set up, let's take a look at how you can control your robot with an external controller
