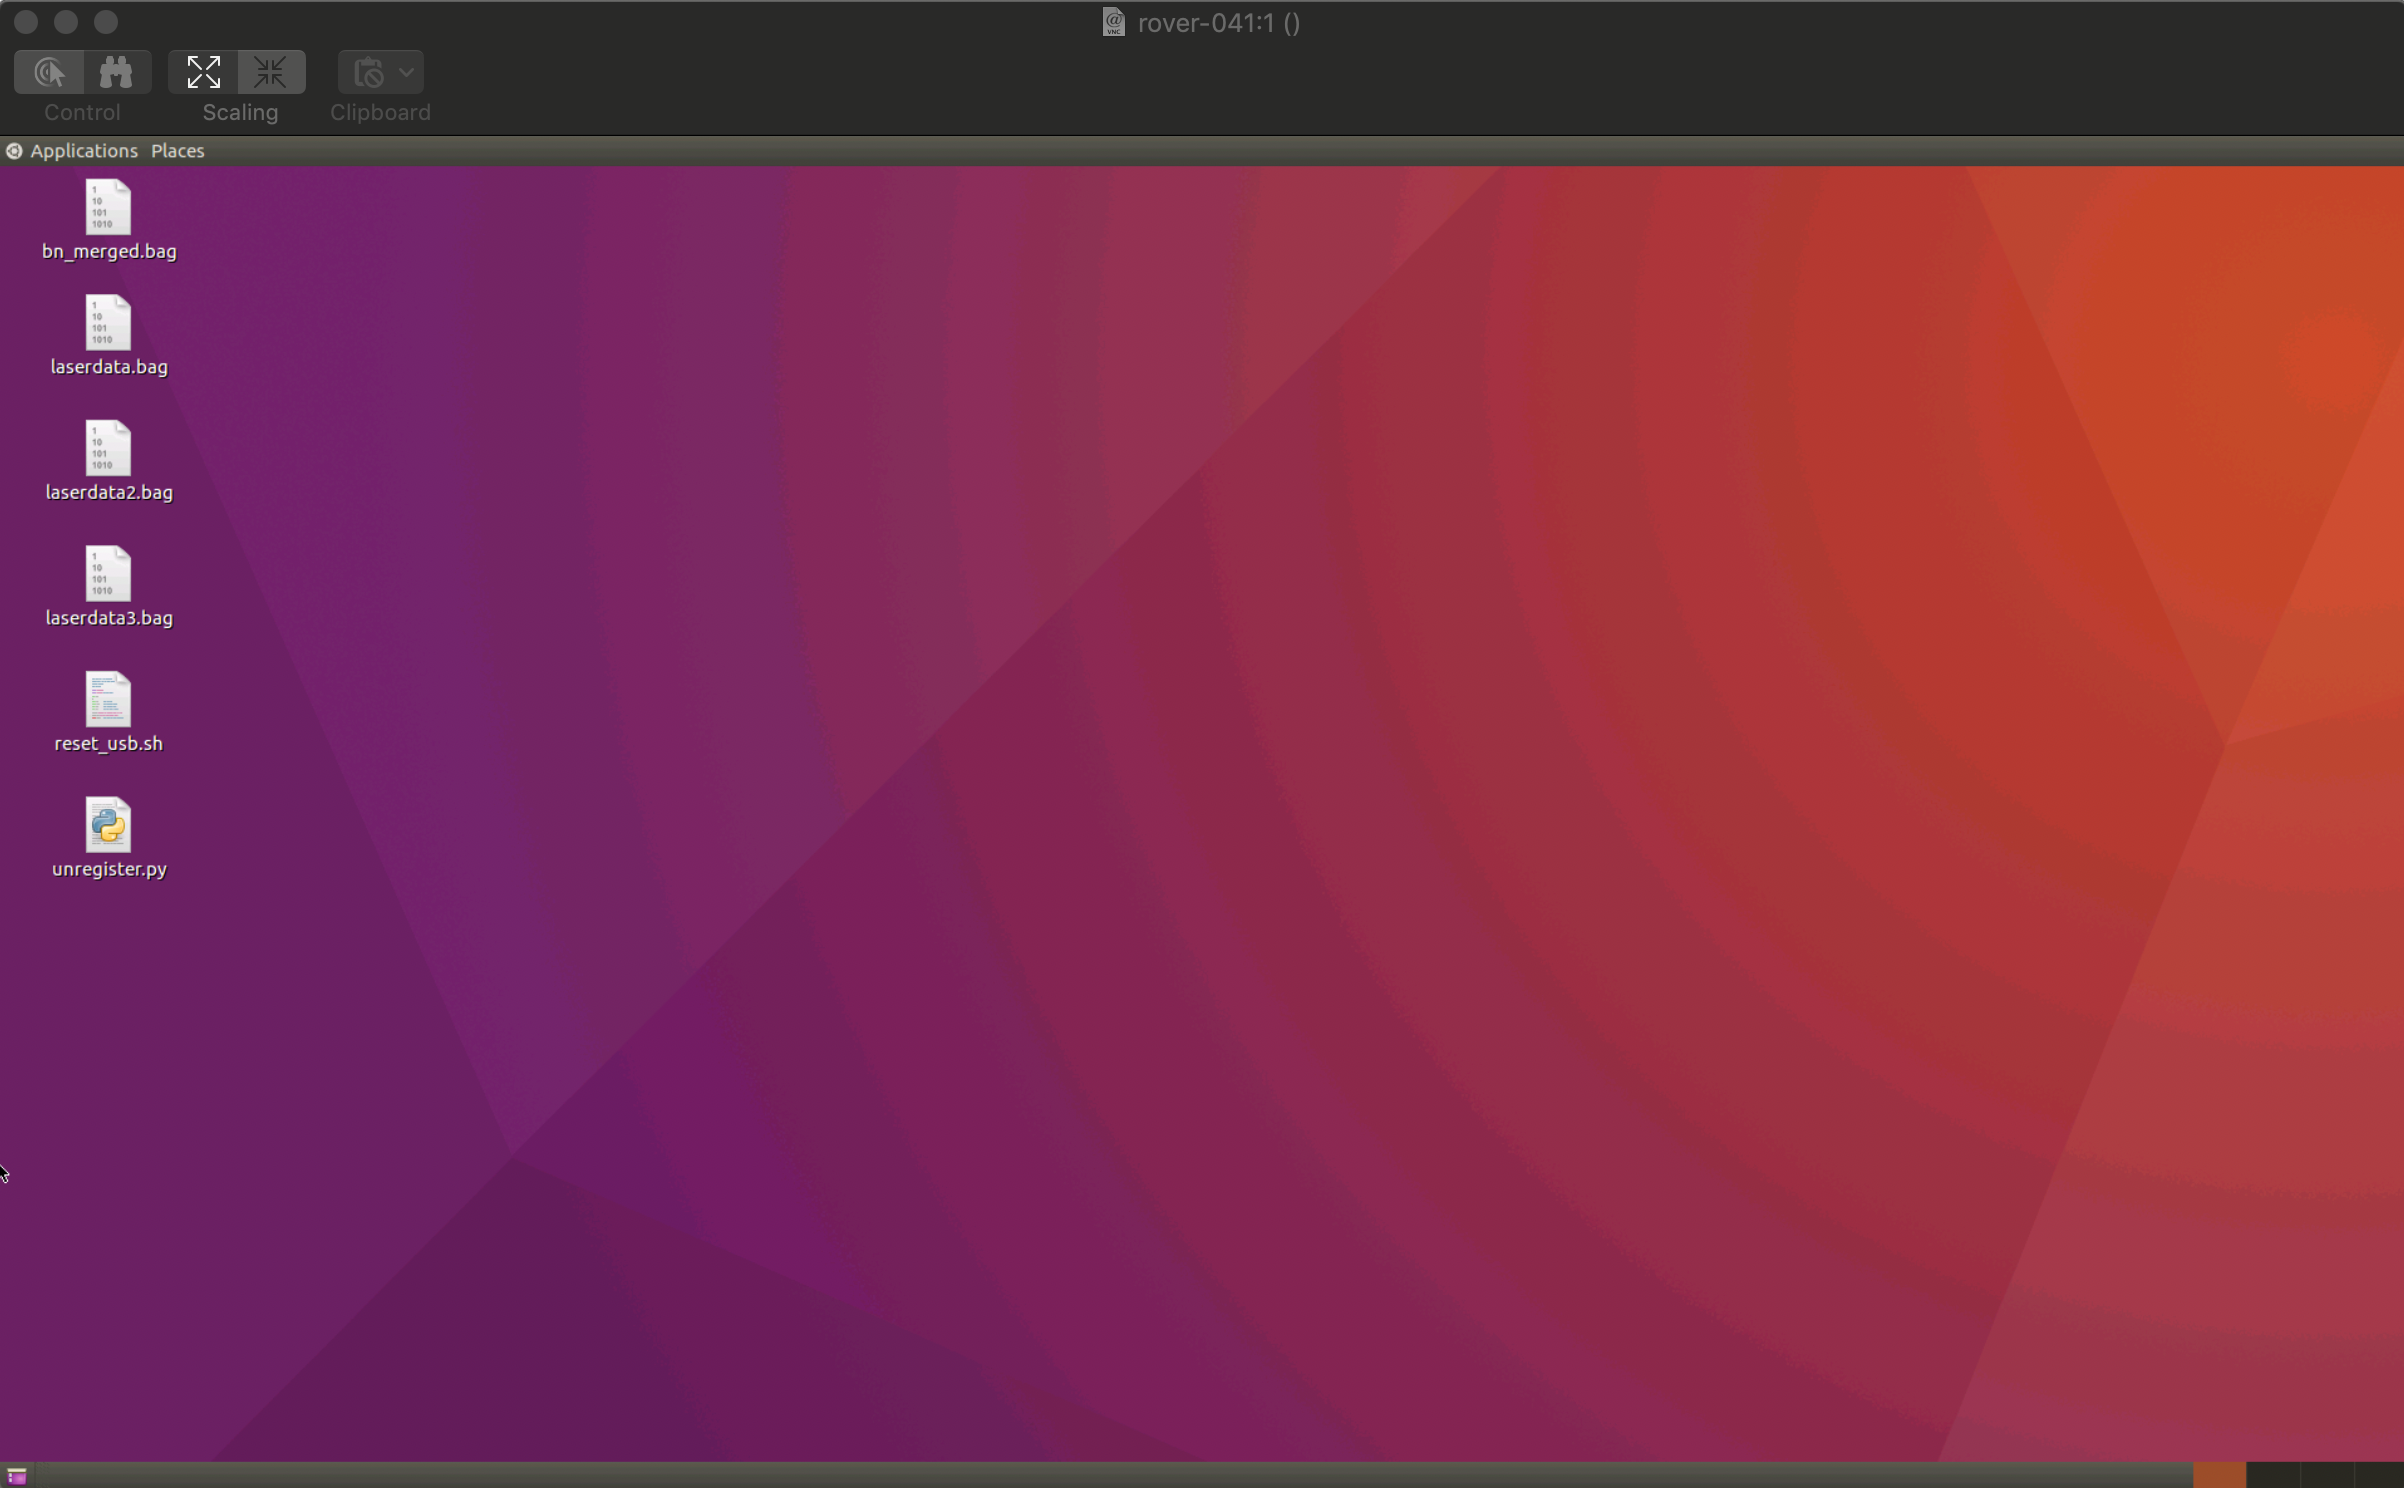
Set Up Remote Desktop on Ubuntu
Many times, you need to do visual debugging, in addition to using an SSH console connection. Freedom supports both.
In the SETTINGS -> REMOTE SSH page in the Freedom App for your robot, you can click to enable a connection and it will tunnel the connection to you.
If you want to do so over a remote desktop, you will need to:
- Install VNCServer and dependencies
- Set up an auto-start script or launch vnc server
- Set up a secure SSH tunnel for port 5901 to your computer
- Connect using a VNC client to localhost:5901

You can easily create a robust remote connection for development.
Set up the Ubuntu Machine
Install Dependencies
# Install UI dependencies
sudo apt-get install ubuntu-desktop gnome-panel gnome-settings-daemon metacity nautilus gnome-terminal

# Install VNC Server
sudo apt-get install vnc4server

# Run VNCServer for the first time, where it will ask you for a 8 char or less password
vncserver :1

# Then kill it so we can edit settings
vncserver -kill :1
Configure VNC server on the robot
Update ~/.vnc/xstartup to have the correct settings. This is the file that turns on your windowing UI and other programs which will run as you connect.
# Make sure our xstartup is executable
sudo chmod +x ~/.vnc/xstartup

# Now replace the contents for setup
nano ~/.vnc/xstartup
Inside xstartup, adjust it to match the below settings.
#!/bin/sh

# Uncomment the following two lines for normal desktop:
# unset SESSION_MANAGER
# exec /etc/X11/xinit/xinitrc

[ -x /etc/vnc/xstartup ] && exec /etc/vnc/xstartup
[ -r $HOME/.Xresources ] && xrdb $HOME/.Xresources
xsetroot -solid grey
vncconfig -iconic &
x-terminal-emulator -geometry 80x24+10+10 -ls -title "$VNCDESKTOP Desktop" &
x-window-manager &

gnome-panel &
gnome-settings-daemon &
metacity &
nautilus &
Start the VNC Server on the Robot
You can always start it by hand or stop it with a command on the keyboard.
# Start a new version
vncserver :1 -geometry 1920x1080

# Kill a version of VNC
vncserver -kill :1
Make VNC Server on the Robot start on Boot
Now, if you want to have VNCServer always running add it to the crontab so it will auto-start. You don't need to do this and can always log in over SSH and run vncserver :1 -geometry 1920x1080 & to do so by hand. You can also create a linux service if you want to have it restart on crashes, but that is a bit more complex.
Run this to open your user's cron tab file on the robot:
crontab -u $(whoami) -e
Then, add lines to start vncserver on reboot and to watch every minute if it fails and restart it.
@reboot /usr/bin/vncserver :1 -geometry 1920x1080
* * * * *  pgrep vnc > /dev/null 2>&1 || /usr/bin/vncserver :1 -geometry 1920x1080
Reboot
Now, reboot for all the changes and UI settings to take effect
Tune up your UI
There are a few settings, such as when the user logs out or the screen turns off, which should be adjusted so a VNC session can stay alive.
- Disable screen saver
- Turn off privacy screen lock
- Turn off power blank screen
These can be found in the preferences tabs for Display and Power on your robot's Ubuntu desktop.
Now, Connect to your Robot's Desktop on the local network
Now, go to your remote machine (Your dev computer, not the robot) and create a tunneling SSH connection to your robot with:
ssh -L 5901:127.0.0.1:5901 user@ip_or_robot_hostname
What does this all mean?
-L - Local port forwarding, allowing the robot's local ports to be securely forwarded to your dev computer.
5901: - your development computer's port. 5901 is the default port for VNC. If you had a second VNC server, you would run it on 5902.
127.0.0.1:5901 - The port to forward from the robot's perspective.Here we are forwarding the robot's local port
5901. If the robot was connected to a raspberry pi or other device the the local ip could be changed to be the local ip of the RPi from the robot's perspective. In this case, the robot is routing its own port to our dev machine's port.
Open your favorite VNC app and connect to localhost:5901 on your computer or type vnc://localhost:5901 into Chrome, Firefox or Safari and then enter the VNC password (Different from your user one and <= 8 chars.
Connect remotely to your Robot's Desktop using Freedom Robotics
Now comes the fun part. Because Freedom's Remote SSH does tunneling, you can connect to your computer form anywhere, not knowing the network it is on, and then run a remote desktop session over it.
Go to SETTINGS -> REMOTE SSH and enable remote SSH. You will just have to add -L 5901:127.0.0.1:5901 right after ssh and this will create a secure tunnel so your system can safely connect to it. Log in with your normal user password.
The end result will look something like this (but custom to your connection). The specific changes are that it will run through tunnel.freedomrobotics.ai, allowing it to be publicly accessible and it will have a specified port to log in on, such as -p 5433.
ssh -L 5901:127.0.0.1:5901 [email protected] -p 5433
NOTE: The Freedom Remote SSH Connection will automatically disconnect after a few minutes you are not actively interacting and you will just have to restart your SSH connection on your development machine to the robot. Your screenshare should automatically reconnect.
Below is a simple script to keep your port open while you work. Please cancel out when you disconnect.
echo "Hit CTRL+C to stop" ; while : ; do echo -en $(date) " \r"; sleep 1; done
You are good to go! Happy debugging.
Updated almost 6 years ago
