Drive your Robot
Time to complete: 5 minutes
In this section, we'll set up the joystick and the LiDAR feed (optional) so that you can drive your robot. With these features, you can do things like:
- Use the joystick to drive a robot that is mis-localized or bumped into a corner, then reengage autonomous mode once the error state is resolved
- Manually teleoperate a robot for particularly challenging tasks using the joystick and low-latency camera feeds
We'll walk through the following steps so you can get started driving your robot:
1. Set up the joystick
2. Add a LiDAR feed (optional)
3. Start driving!
Prerequisites
We highly recommend that you enable WebRTC before driving your robot: round trip latency is ~1-2s without webRTC and can be <100ms with WebRTC.
We also recommend you have complete the steps to control your robot, including adding video feeds, setting up command shortcuts, and adding key metrics.
Set up the joystick
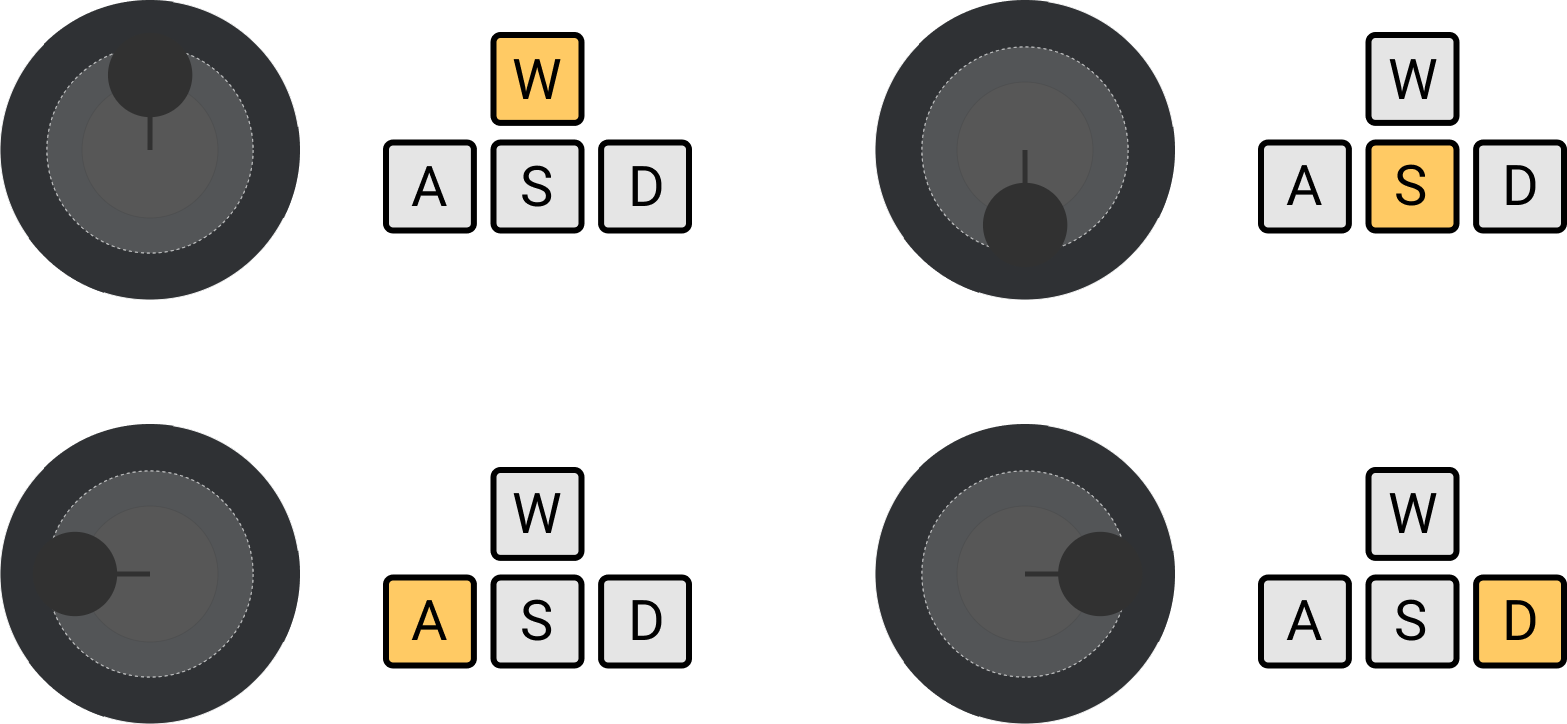
Freedom's pilot view includes an on-screen joystick that you can use to drive your robot. You can control it by clicking and dragging or by using the arrow keys.
Configure joystick settings
Let's configure the joystick for your robot. Select your robot, then navigate to SETTINGS → PILOT → CONTROLS. Set the following properties:
- VELOCITY TOPIC NAME: The topic to which the joystick should send commands (e.g.
/key_velor/cmd_vel) - VELOCITY TOPIC TYPE: The type of data sent to the velocity topic. Choose between
TwistStampedandTwist. If you're using ROS and are unsure which to select, either look at the message type in the Stream tab or SSH into your robot and typerostopic info [my_topic]. - MAX ANGULAR VELOCITY and MAX LINEAR VELOCITY: Maximum values for commands sent by the joystick. Start small!
How it works
The Joystick sends a geometry_msgs/Twist or geometry_msgs/TwistStamped message to a topic of your choosing. This allows you to move a robot in real-time.
This is what a geometry_msgs/Twist message looks like for a standard drive forward command at a velocity of 0.5 m/s, while turning left (around the positive vertical axis) at a rate of 0.1 rad/s:
{
"linear":
	{"x":0.5,"y":0,"z":0},
"angular":
	{"x":0,"y":0,"z":0.1}
}
Add a LiDAR feed (optional)
If you have LiDAR data available for your robot, it's easy to display it! Select your robot, then navigate to SETTINGS → PILOT → ENVIRONMENT.
Set the LIDAR TOPIC to the name of the topic that is uploading LiDAR data. If you're unsure of the topic name, check out the SYSTEM page to view a list of topics. More information about the LiDAR message schema is available here.
Start driving!
It's time for the fun part: driving your robot! Click PILOT on the left sidebar, then click TAKE OVER.
View video and LiDAR feeds
If you have multiple video feeds, you can switch between them by clicking on the feed you'd like to view in the top left corner of the screen.
If you've added a LiDAR feed, it will appear in the top right corner of the screen.
Use the joystick
Use the WASD keys on your keyboard or click and drag on the joystick to steer. When using the WASD keys, the velocity command will default to 30% of the maximum linear and angular velocities.

Updated over 3 years ago
