Saving Waypoint and Path Commands
It is straightforward to save waypoint and path commands for the pilot view in a few clicks by copying the current pose of your robot or navigation waypoint and pasting it into a pilot command. Operators can then access this command when piloting a robot by opening the command center the clicking the command you want to execute.
You can either save the current pose of the robot or save a navigation waypoint to the clipboard then form a command from it.
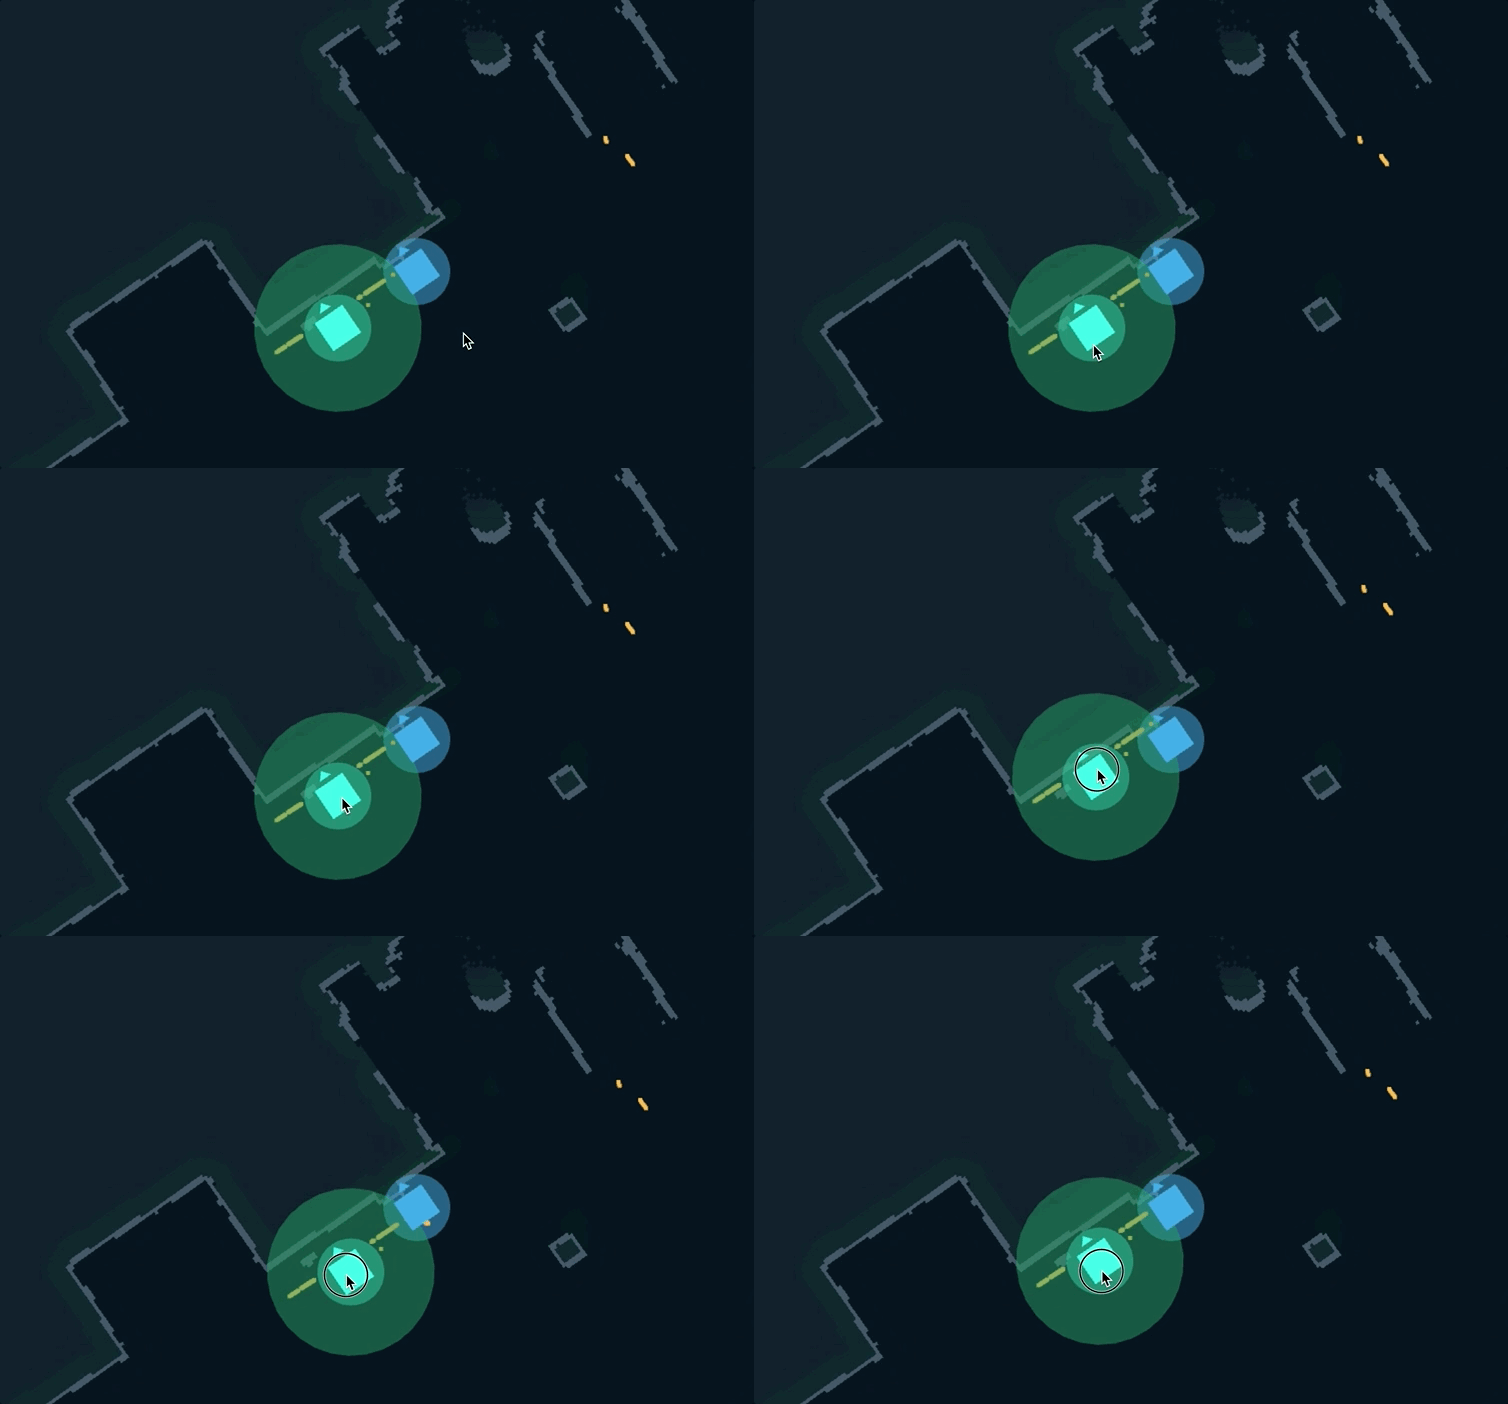
Moving your device
To drag the device, click and hold on the innermost circle. This will drag the device around.

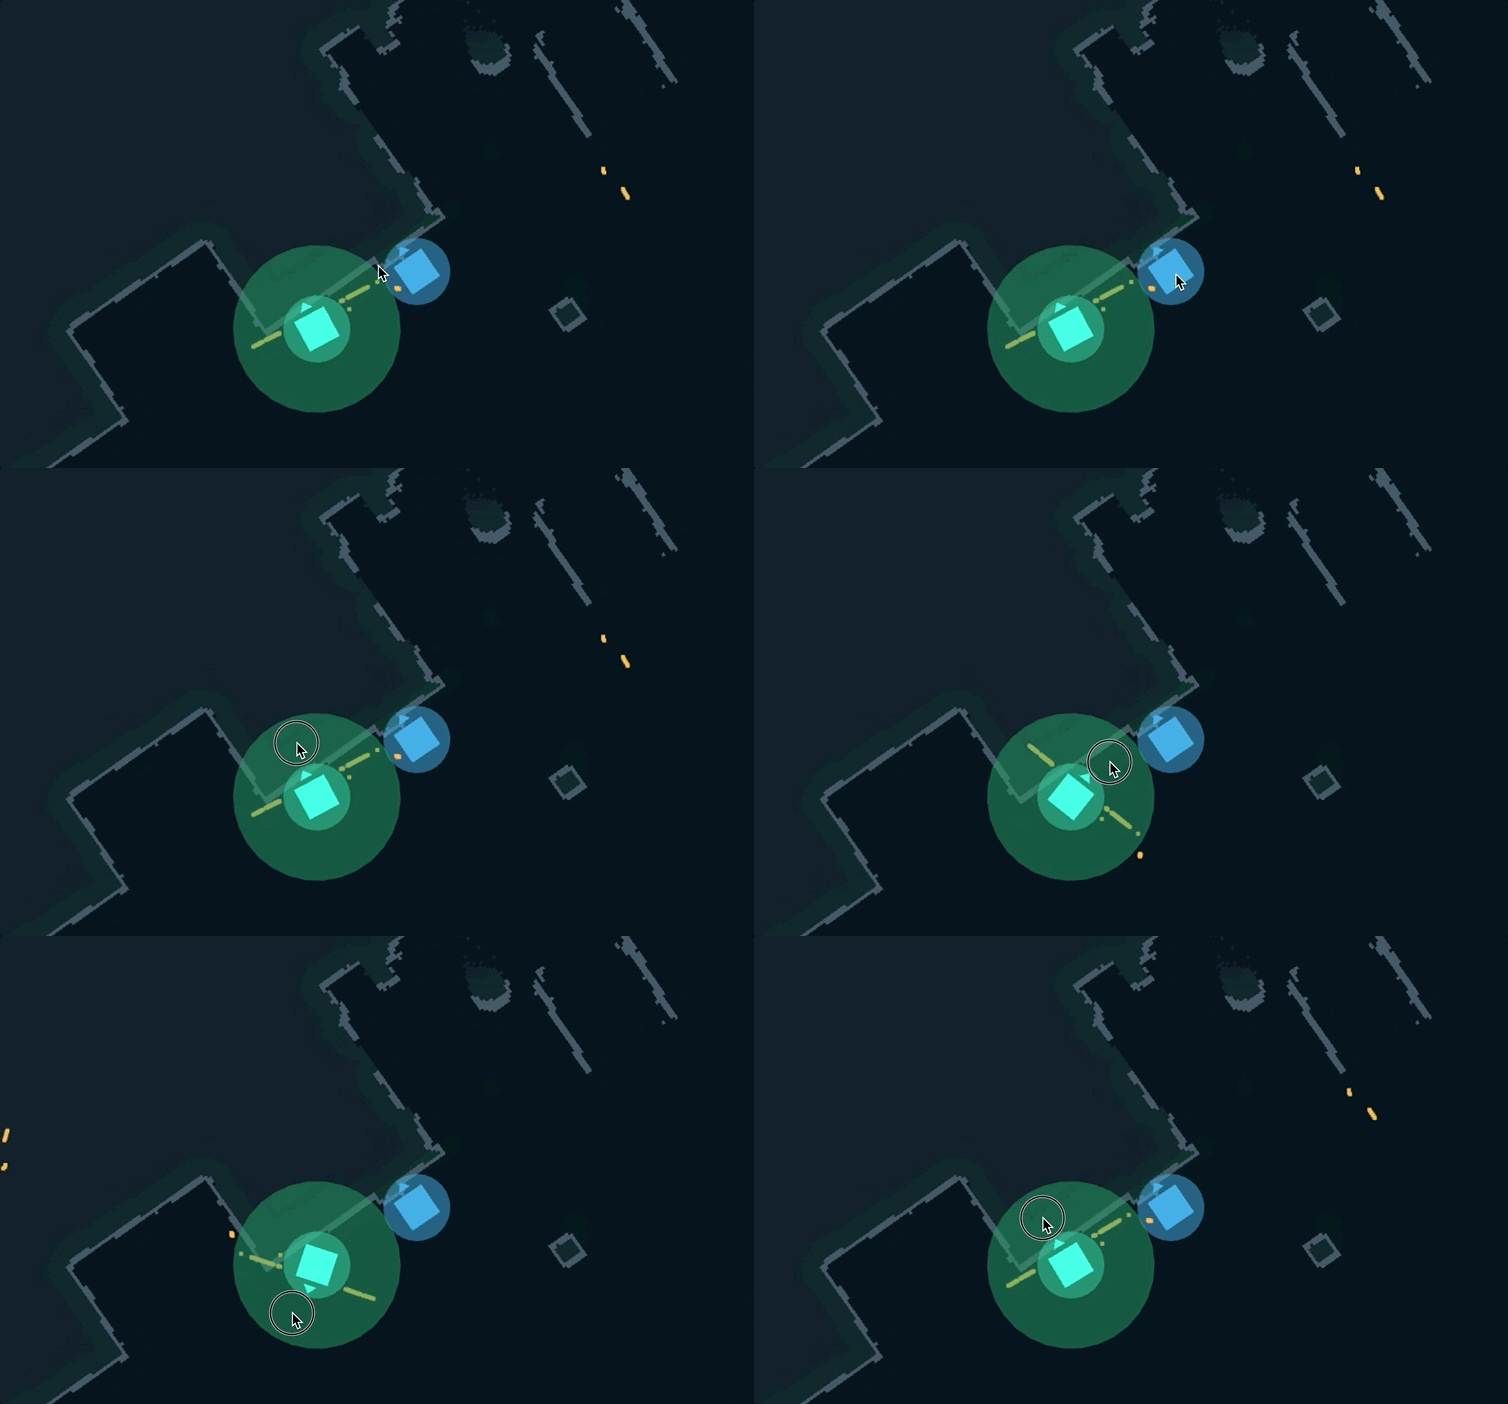
The rotate the device's origin, click and hold on the semi-transparent circle. Then move the mouse only in the confined space of the semi-transparent circle.

Overview of Steps
- Copy pose - In the map view, press
Pto copy the current pose to the clipboard as a PoseStamped JSON message. - Format message - In
SETTINGS -> PILOT, create a new command and paste it in the body and format it correctly for either a waypoint pose or a path of multiple poses. - Run command - When you press
Cto show commands when you are piloting, you will see waypoint and path commands in the list.
Detailed Steps
Below are specific details on the different ways to create poses and paths as commands.
Robot's Pose
The robot's pose is represented by a linear position and angular orientation for the robot. You will usually want to use a PoseStamped message, which also includes timing information and, importantly, a frame_id, so you can specify which frame of reference in the transform tree the position is relative to.
{
    "header": {
        "stamp": {
            "secs": 0,
            "nsecs": 0
        },
        "frame_id": "map",
        "seq": 1
    },
    "pose": {
        "position": {
            "y": 3.824737,
            "x": 6.249238,
            "z": -0.004999
        },
        "orientation": {
            "y": 0,
            "x": 0,
            "z": -0.703663,
            "w": -0.707578
        }
    }
}
{
    "pose": {
        "position": {
            "y": 3.824737,
            "x": 6.249238,
            "z": -0.004999
        },
        "orientation": {
            "y": 0,
            "x": 0,
            "z": -0.703663,
            "w": -0.707578
        }
    }
}
Details:
- For PoseStamped messages,
secsandnsecsas 0 are defaults to specify that time doesn't matter. - Choose the
frame_idwhich is the base frame the measurements are taken against. Currently, the numbers you receive are relative to the world frame, so "map" is a good one to use if you have it in your transform tree. (In the future this will allow arbitrary TF base frames) - Set
seqto 1.
Paths - An array of Poses
You can also use a slightly larger message where you specify an array of poses you want the robot to go through. This allows you to set multiple waypoints for the robot to navigate between, such as driving to each room in an office or heading back to a location on a farm by driving on the road through 10 turns, not the fields.
{
    "header": {
        "stamp": {
            "secs": 0,
            "nsecs": 0
        },
        "frame_id": "map",
        "seq": 1
    },
    "poses": [
        {
          "position": {
            "y": 3.824737,
            "x": 6.249238,
            "z": -0.004999
          },
          "orientation": {
            "y": 0,
            "x": 0,
            "z": -0.703663,
            "w": -0.707578
          }
        },
        {
          "position": {
            "y": 3.824737,
            "x": 1.312322,
            "z": -0.004999
          },
          "orientation": {
            "y": 0,
            "x": 0,
            "z": -0.703663,
            "w": -0.707578
          }
        }
    ]
}
A PoseArray message is very similar to a PoseStamped message, just with an array of poses where you can specify one or more pose elements.
Saving a Waypoint or Path Command
1. Position the robot
The easiest way to create a waypoint or path is to have the robot drive to that location, with you controlling it. Once there, you have the exact coordinates and orientation you need.
Remember to align the robot correctly, so if you have a future pose at a different location, this pose is pointing in the correct direction.
2. Copy Pose to clipboard
To save a new command, first, either position the robot in the correct location and orientation or click the waypoint button when piloting in a new location while piloting and then press P to copy the robot's or waypoint's current pose to the clipboard.
3. Create a new Command
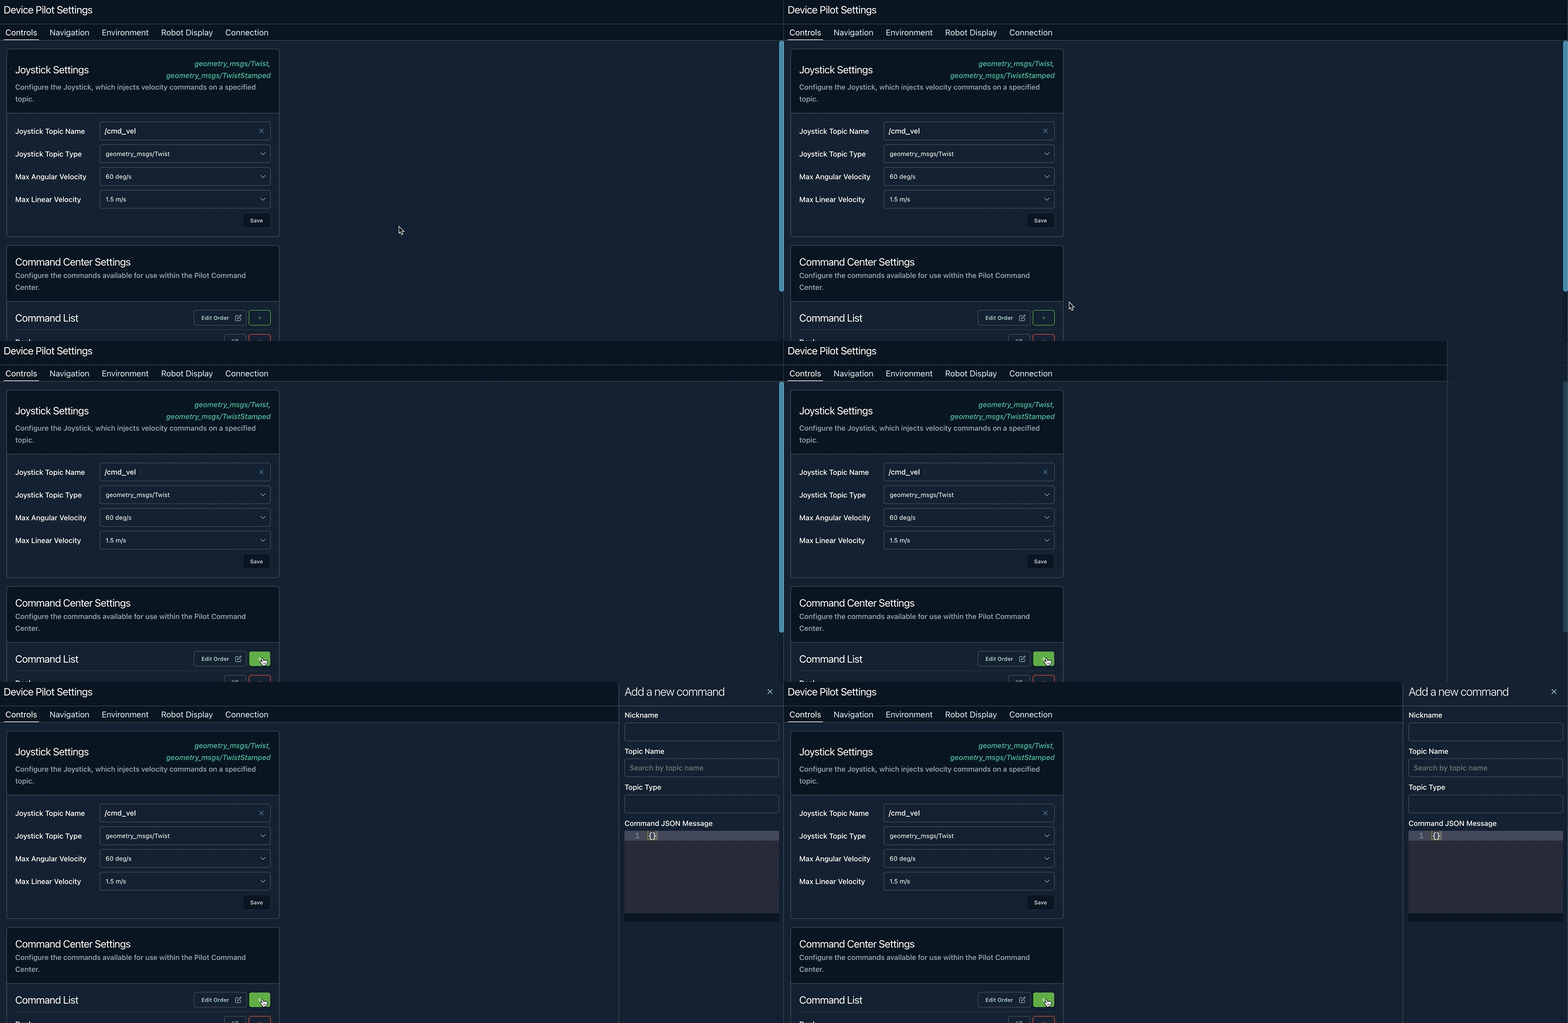
Now, go to the device's SETTINGS -> PILOT then click the plus icon. Choose the topic name and set a topic type of geometry_msgs/Pose, geometry_msgs/PoseStamped, geometry_msgs/PoseArray and then paste in the payload.

When you create a new command, you can set the topic, type and payload of the message to be for a path or waypoint.
geometry_msgs/Pose
Just paste in and delete the header element from the JSON in the clipboard.
geometry_msgs/PoseStamped
Paste in exactly as it is.
geometry_msgs/PoseArray
We recommend pasting this into a code editor to format it before pasting in to the Edit Command dialog. You should keep the header the same as it is in the clipboard, but add a "poses": [ ] section where you paste in the current pose without any header.
You can then either move the robot or the navigation waypoint to a new location, copy that location and paste in just the pose as a subsection of the "poses" element.
You can see an example of this formatting above.
4. Order the command in the list correctly
The first 10 commands all have keyboard shortcuts and we recommend specifying your most important commands with the lowest numbers, so they stay with the same shortcut, allowing operators to easily remember what to press or where to click.
In SETTINGS -> PILOT, you can re-order commands, to have the most important ones come first.
Triggering a Path Command
Now, when an operator takes over a robot they can open the "Command Center", they will see the commands with their shortcuts and the waypoints will show with an additional icon.
Updated about 3 years ago
