Remote Code Editing with Visual Studio Code
and other editors
What we'll cover
In this tutorial, you will learn how to easily link your robot’s code directories into your local machine over SSH where local updates are securely sent to the robot instantly.
Instead of using Remote Desktop, you can also use Freedom's remote SSH feature to edit code on your robot using VScode or PyCharm Professional. Since it's not forwarding graphics, the connection is much faster and so it feels like you're editing code locally! That's also useful for fixing a bug in your code while your robot is doing work outside and only has an LTE connection. Even when your robot is in the office, with DHCP its IP address might change every other week or so.
In this tutorial, we'll set it up for the free open-source code editor VScode, other editors with SSH follow a similar configuration.
Setup steps
Install the VScode Remote SSH Extension
Installing the extension only takes a few moments. The VScode docs do a good job walking you through it.
Modifying your local SSH configuration file
VScode uses your local ~/.ssh/config (location might differ for different Windows and Mac) to connect to the remote host and makes it easy to edit it from within the application.
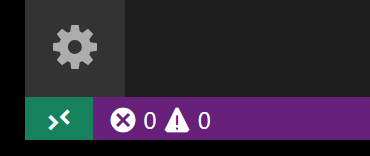
In the bottom left, click on the green 'Open a remote window' button and click 'Remote-SSH: Open Configuration File'.


Finding the SSH config file
If you haven't used ssh before, the config file might not exist yet. Create the file yourself following this guide. The instructions are similar for Windows and MacOS.
Copy the following default into that file:
Host myRobot
    User userNameOnYourRobot
    Port 12345  # get this number from the remote ssh page
    Hostname tunnel.freedomrobotics.ai  # this might be different for you too!
    ServerAliveInterval 30  # optional: keep the connection alive longer on inactivity [min]
Create an SSH tunnel to your robot
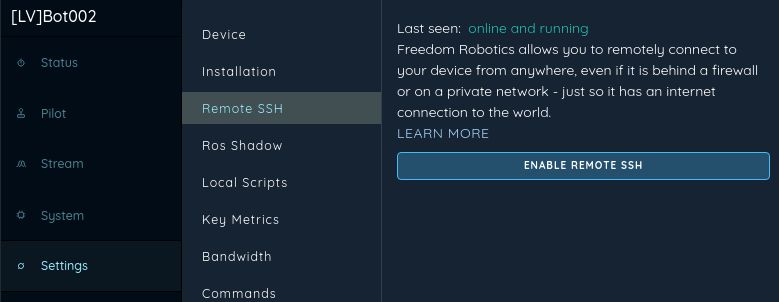
While you can fill in the IP address of the robot if you're in the same Local Area Network network, that IP address can change and doesn't work if you're remote or connected to a different network connection. Instead, log in to Freedom Robotics, select the device you've installed on and 'enable remote ssh' in SETTINGS>REMOTE SSH.

Once you've enabled SSH, you should see something like ssh [email protected] -p 12345. Use those values to populate the config file you opened earlier in VScode.
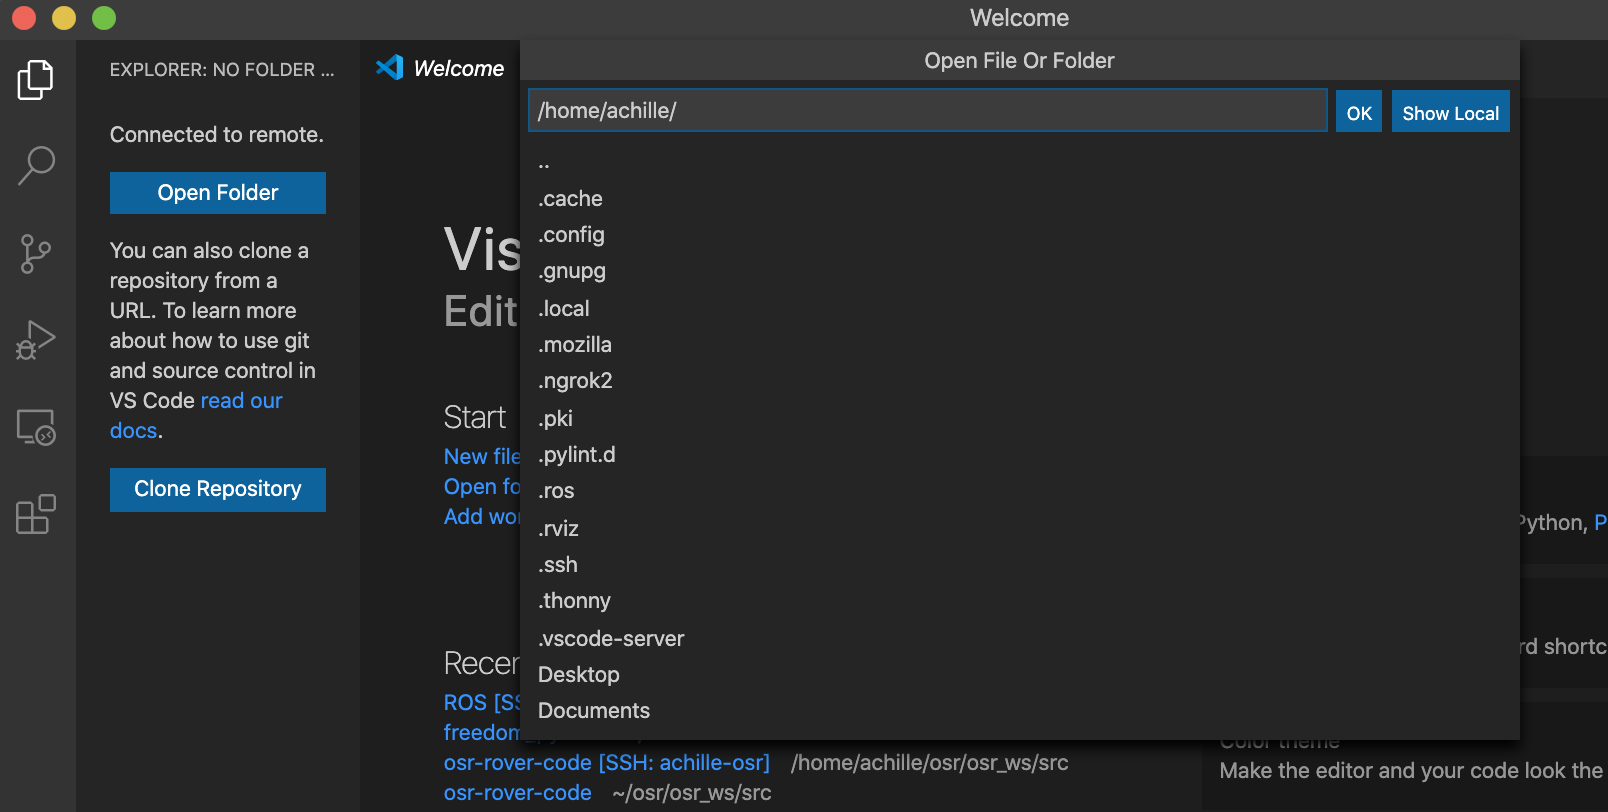
On the 'Remote Explorer' icon on the sidebar on the left and you should see the entry you just added to the config file! Click on the small icon 'Connect to Host in new Window' next to it. It will open a new window and ask you for the robot's password. Once you're in, click the file explorer button on the top left. Pick a folder you want to open, and start coding!

Editing code on a robot hundreds of miles away using VScode and Freedom remote SSH.
Tunnel expires!
Note that this tunnel is temporary and will expire if not used for a while for security reasons. If you disconnect for a longer time or reboot the robot, enable remote ssh again from the app to get the new credentials.
That's it! I typically use VScode alongside a terminal window that's ssh'ed in as well. Since you've set up your config file, you can now SSH in using ssh myRobot!
Updated about 5 years ago
